Android 動畫利器MotionLayout
前言
constraintLayout 搭配constraintSets使用TransitionManager可以實現”對齊”動畫轉換
而上述這種方法,一但動畫開始,他是不可中斷的,您也無法告訴系統轉到轉換中的特定點
而MotionLayout解決了所有這些問題
MotionLayout 作為 連接佈局過度和復雜的手勢操作之間的橋樑 而生。你可以把它當做介於屬性動畫框架、TransitionManager 和 CoordinatorLayout 之間的功能集合。
作為ConstraintLayout 2.0 的一部分,它可以作為一個支持庫,向下兼容到API 級別18,也就是JellyBean MR2(Android 4.3):這意味著它支持當下95% 的Android 設備,可以查看Android 系統實時市場佔比
添加 MotionLayout 到你的工程
簡單的通過添加ConstraintLayout 2.0 到你的Gradle 配置文件就可以了。dependencies {
implementation 'com.android.support.constraint:constraint-layout:2.0.0-alpha2'
}運用MotionLayout
MotionLayout 是ConstraintLayout 的一個子類——這樣,你可以把它視為一個普通的佈局。現有的ConstraintLayout 轉換為MotionLayout 是很容易的,只要像下面這樣替換類名:<android.support.constraint.ConstraintLayout .../><android.support.constraint.motion.MotionLayout .../>
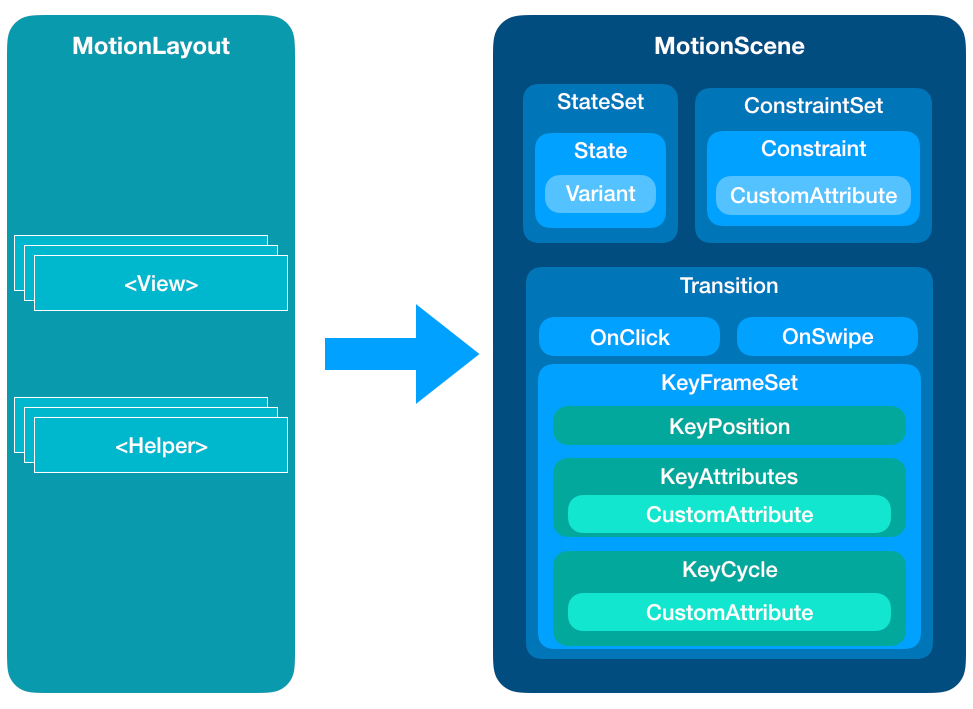
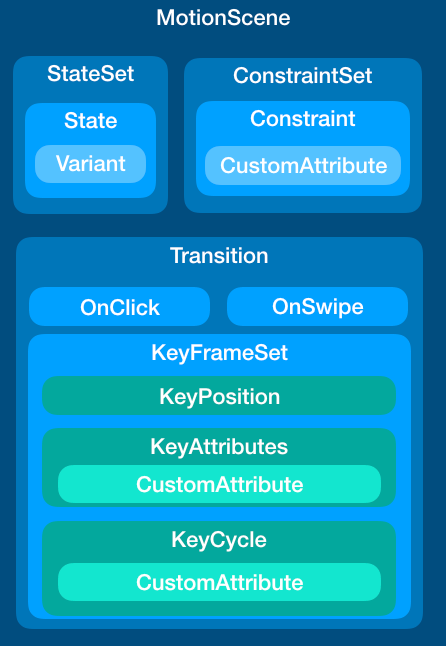
MotionLayout架構圖.png
ConstraintLayout 和MotionLayout 最主要的差異在於XML 級別(使用MotionLayout 就可以知道,在xml 中它有一個app:layoutDescription 屬性),MotionLayout 的子視圖佈局屬性,並不一定要包含在佈局文件中。
當然,MotionLayout 通常子視圖佈局屬性放到一個分開的xml 文件中(這就是一個MotionScene)然後引用它,而且定義在此處的子視圖佈局屬性將優先於佈局文件的子視圖佈局屬性。
ConstraintSets
如果你沒有在ConstraintLayout 中使用過ConstraintSets,可能需要花幾分鐘看看這個影片:MotionScene
如之前提到的那樣,和通常的佈局控件不同,MotionLayout 的一些規格保存在另外一個XML 文件中,它就是一個MotionScene,存放於的res/xml 資源目錄下。
MotionScene文件可以包含指定動畫所需的全部內容,例如前面提到的ConstraintSets、ConstraintSets直接的過渡、關鍵幀、觸摸處理等等。
範例01:引用現有佈局
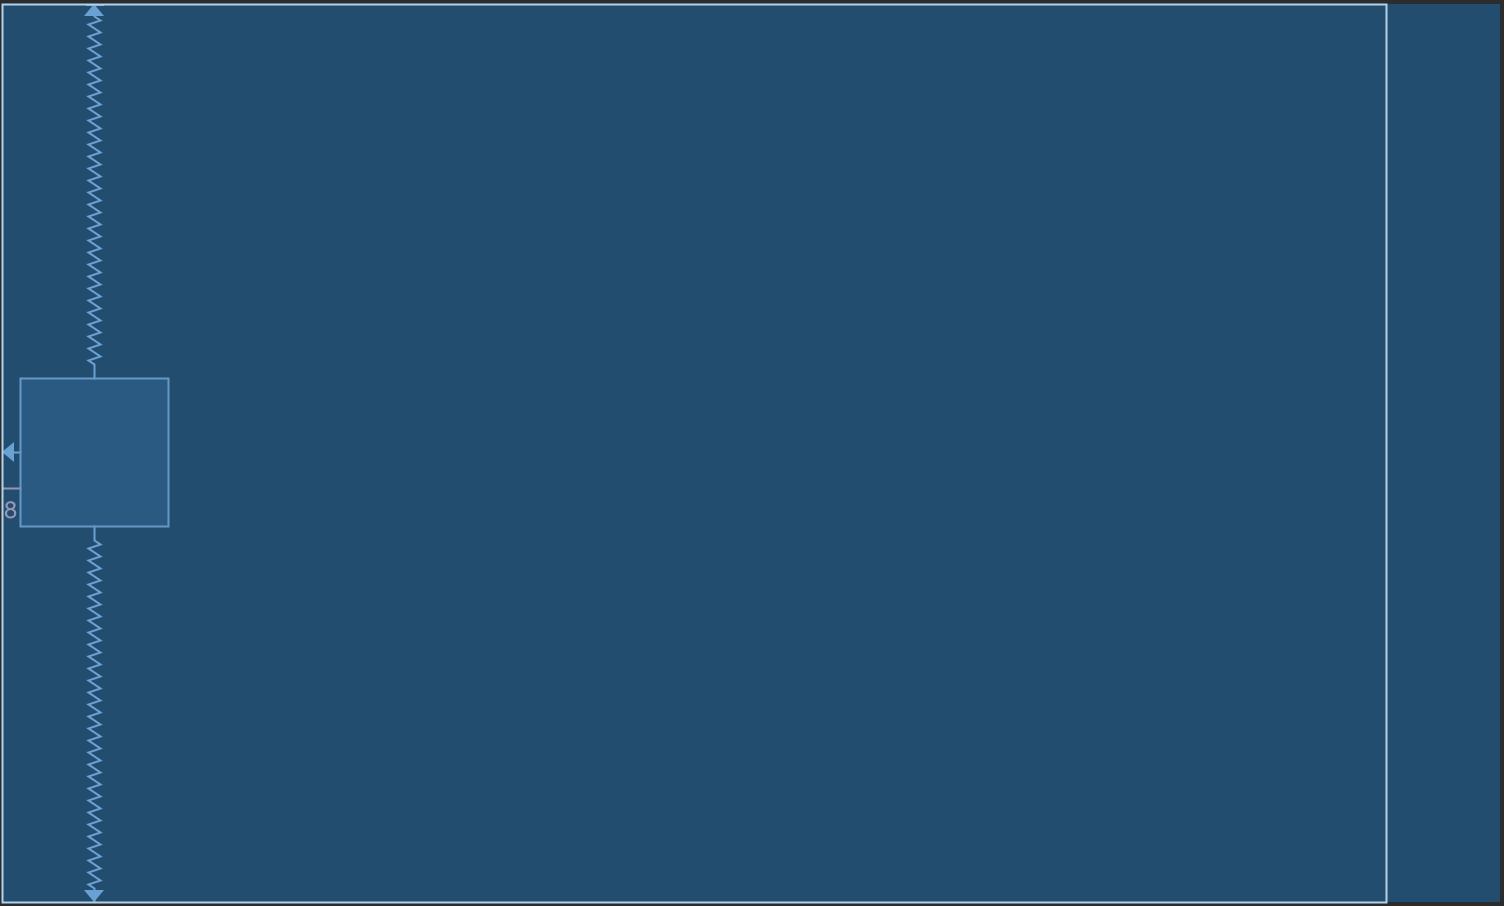
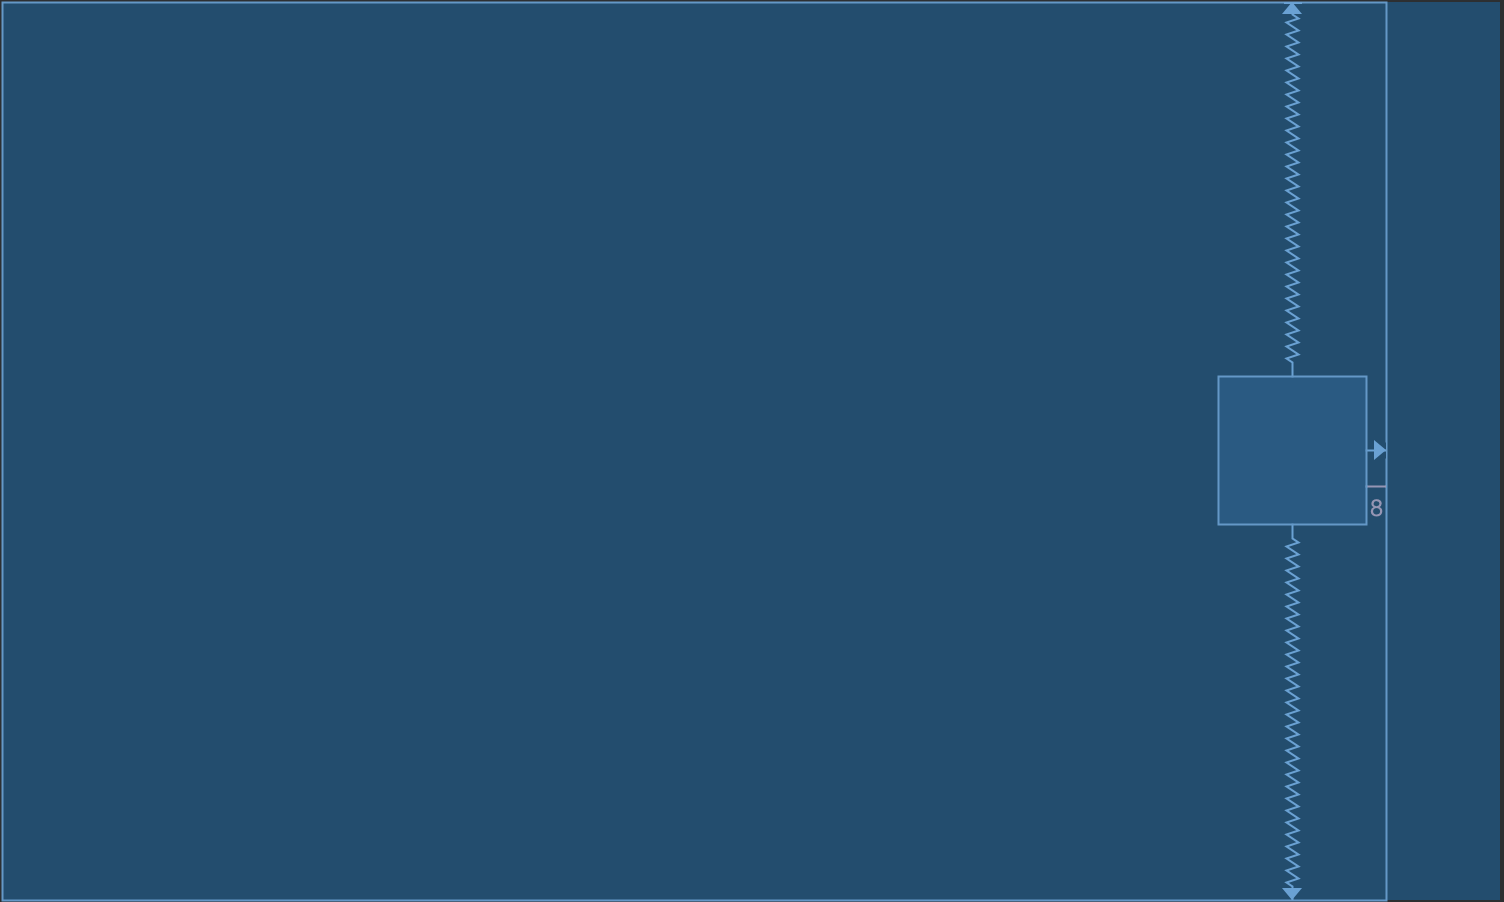
使用ConstraintLayout,您將創建兩個ConstraintSets - 一個用於第一個位置(屏幕左側有小部件),第二個用於第二個位置(屏幕右側有小部件)。結束佈局:
<?xml version="1.0" encoding="utf-8"?>
<android.support.constraint.motion.MotionLayout xmlns:android="http://schemas.android.com/apk/res/android"
    xmlns:app="http://schemas.android.com/apk/res-auto"
    xmlns:tools="http://schemas.android.com/tools"
    android:id="@+id/motionLayout"
    android:layout_width="match_parent"
    android:layout_height="match_parent"
    app:layoutDescription="@xml/scene_01"
    tools:showPaths="true">

    <View
        android:id="@+id/button"
        android:layout_width="64dp"
        android:layout_height="64dp"
        android:background="@color/colorAccent"
        android:text="Button" />

</android.support.constraint.motion.MotionLayout><?xml version="1.0" encoding="utf-8"?>
<MotionScene
xmlns:motion="http://schemas.android.com/apk/res-auto">
<Transition
motion:constraintSetStart="@layout/motion_01_cl_start"
motion:constraintSetEnd="@layout/motion_01_cl_end"
motion:duration="1000">
<OnSwipe
motion:touchAnchorId="@+id/button"
motion:touchAnchorSide="right"
motion:dragDirection="dragRight" />
</Transition>
</MotionScene>筆記用途,希望對大家都有幫助~
原文網址:https://medium.com/google-developers/introduction-to-motionlayout-part-i-29208674b10d
非常棒的參考影片:https://www.youtube.com/watch?v=jX9LfuJT_pE


留言
張貼留言